How to make a hairstyle “Bump” on the head with your own hands (with photo, video)
Perhaps the most versatile and popular styling is the bump hairstyle – it is called a bun, bun or knot, depending on the execution technique.
A bump comes to the rescue if you need to not only carefully collect all the hair, but also emphasize the femininity of the image.
At the same time, the beams, designed a little differently, can look quite bold and flirtatious.
In the office or institute, on a date or in a cafe, at a party or a gala event – in any situation there is a place for a bump.
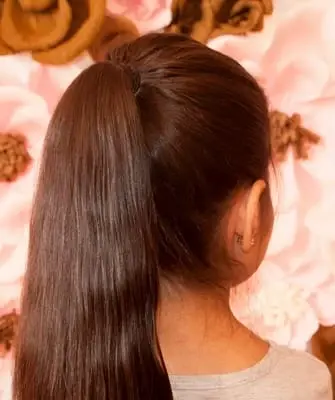
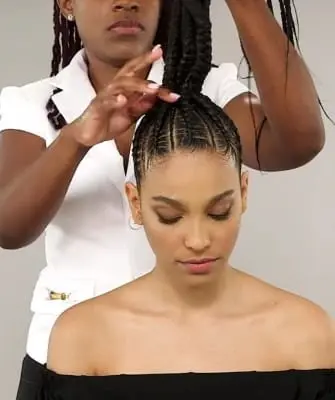
Low "Bump with a donut" for long hair
The main requirement for a bump is that it must be voluminous, otherwise the styling looks cheap and primitive.
If your hair is not too long or very sparse, a “donut" will come to the rescue – a special accessory made of foam rubber that resembles a donut with a hole inside.
Choose a “donut” to match the color of your curls – although it will be covered with hair in the final styling option, the contrasting shade of the accessory will make the hairstyle unnatural.
"Bablis" come in different sizes, the choice depends on the length of your hair, as well as on how voluminous the bump you want to get.
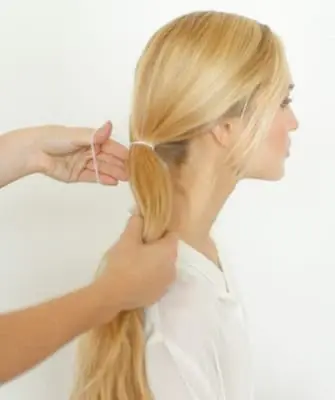
Let's look at how to make a "low bump" hairstyle on the head for long hair, spending a minimum of time and getting a spectacular result:
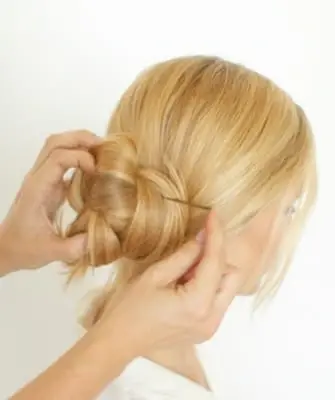
If you have long hair, but the event requires you to look strict and restrained, this solution is for you.
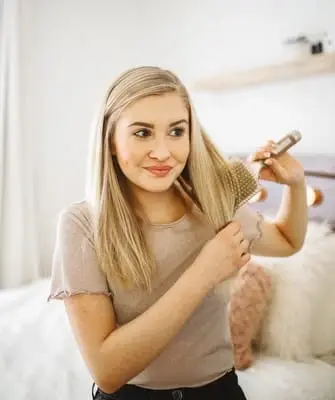
- Treat the entire hair with mousse or styling gel.
- Gather the hair in a ponytail between the crown and the back of the head, trying to comb the strands smoothly all over the head.
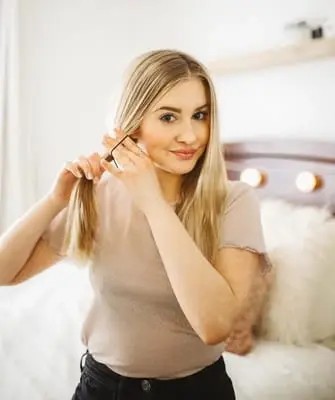
- Pass the ponytail through the hole in the "donut" and place the "donut" over the elastic.
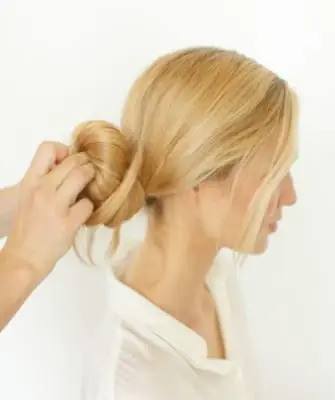
- Separate the strand at the top of the tail, lay it on top of the “donut”, tuck it under it, and carefully wrap the remaining end of the strand around the bundle, also tucking it under the “donut”.
- If the hair is unruly, apply more mousse or foam to make the strands slightly sticky.
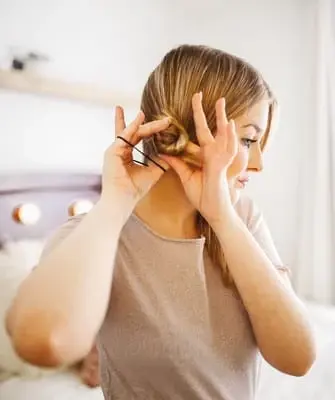
- If necessary, fix the strand with a hairpin.
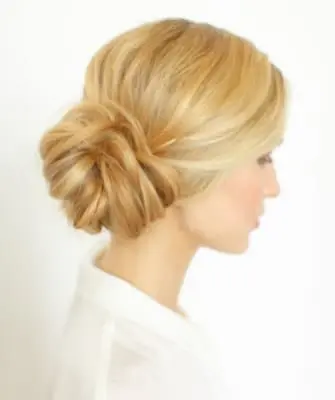
- Do a similar operation for the entire tail, as a result, the entire "donut" should be hidden by hair.
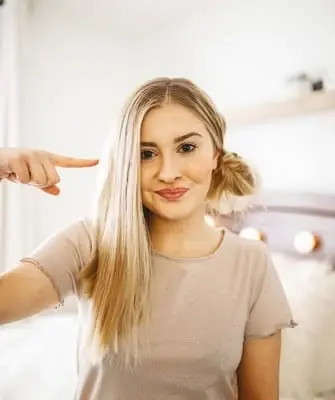
- You can decorate the final result with a decorative hairpin or a beautifully decorated elastic band.
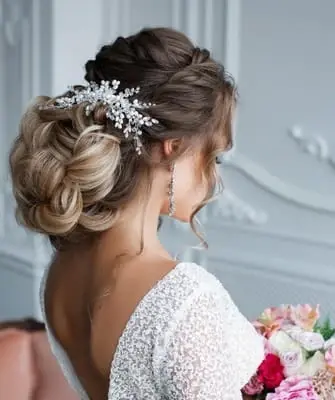
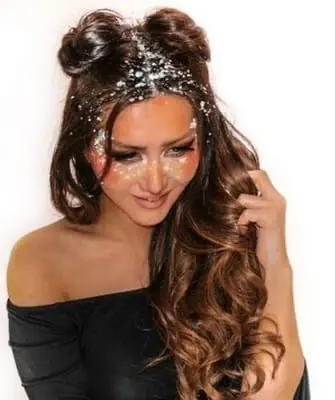
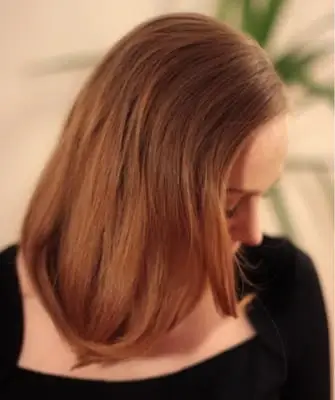
"Bump" on the back of the head: New Year's version with bangs
New Year's hairstyles with bumps on the back of the head are quite suitable for modest persons, as well as for those who cannot boast of a lush mane, having let their hair down:
For the New Year, the hair bump can be decorated with a hairpin or hairpin with rhinestones, a diadem or a tiara:
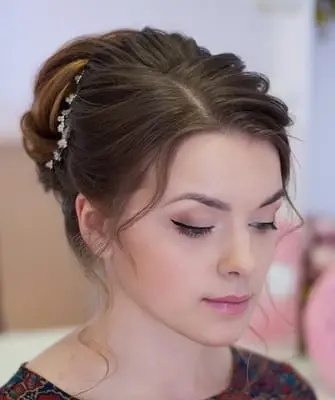
Many depend on the presence and shape of the bangs – watch the video on how to make a bumpy hairstyle with bangs to the side, which gives the styling an additional touch of romance:
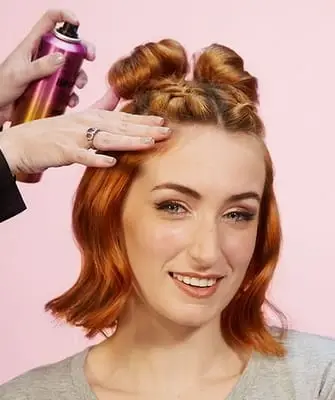
Style the bangs in a beautiful wave and generously cover with a fixing spray, you can use glitter varnish.
Straight thick bangs to the eyebrows in combination with a donut-based bun will make you visually younger and brighter.
An elongated oblique bangs, curled at the bottom, will help you to make the image more elegant.
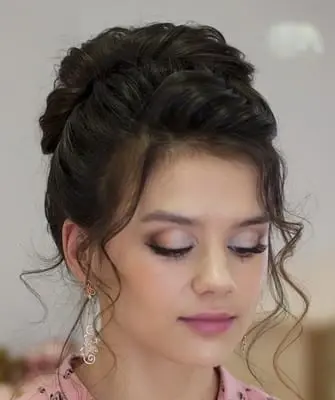
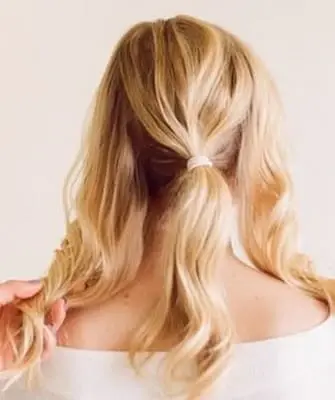
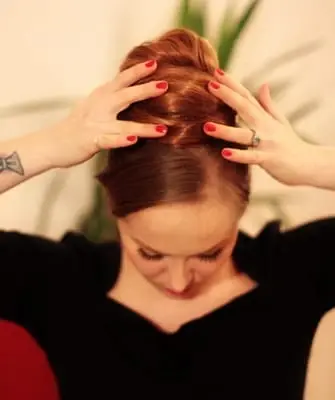
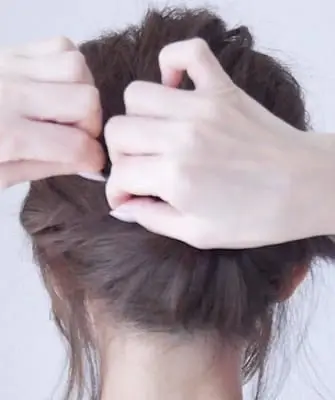
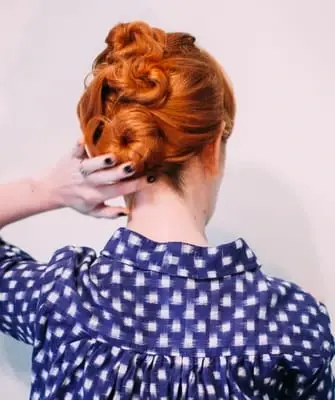
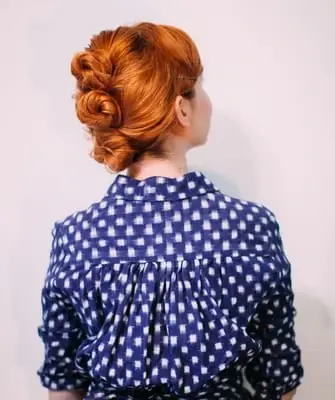
Textured hairstyle "Bump" for girls
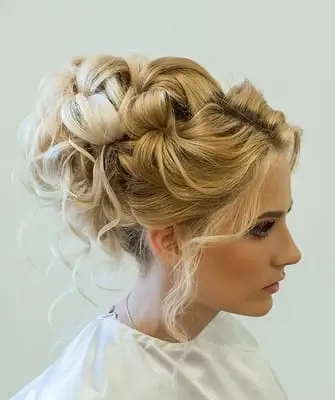
With the help of a "donut" you can make a very interesting do-it-yourself bump hairstyle for long hair, the photo is an instruction for creating such a styling:

The beam turns out to be textured, looks impressive and professional, and is done easily.
- Tie all of your hair into a ponytail.
- Put on a foam "donut" over the tail.
- Separate two small strands and twist them with each other.
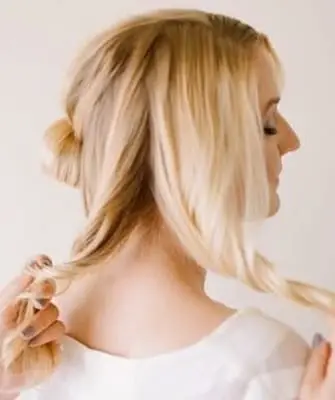
- Lay a double tourniquet on top of the "donut", pass under it and pull it out of the central hole.
- Separate the next strand from the tail and twist with the tip of the first strand.
- Also tuck this tourniquet under the “donut” and pull out the edge from the inside.
- Work through all the strands in this way.
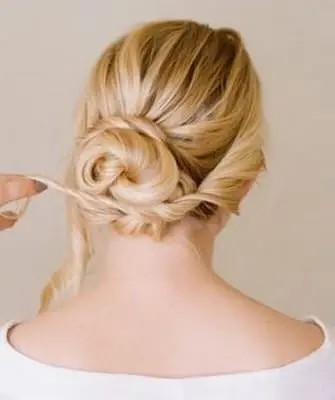
- Do not pull the last tourniquet out of the center, but wrap it around the base of the tail under the “donut”.
- Distribute the bundles evenly so that they completely cover the "donut".
- If necessary, slightly stretch the loops of the bundles to give the bundles volume.
- If the beam seems to bounce over your head, and this visual effect does not suit you, secure the bump with hairpins.
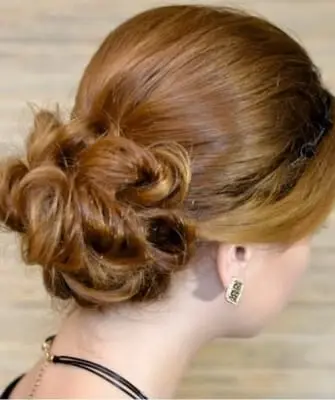
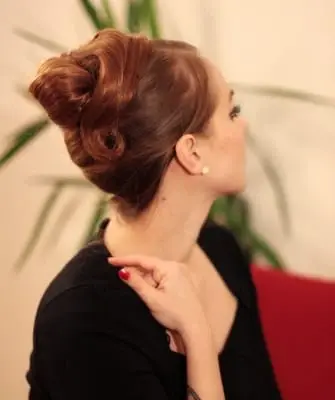
Such a bundle most of all resembles a fir cone due to its relief and looks gorgeous on brown hair.
Now you know how to make a hairstyle with a bump for a girl for a photo in the form of a princess or for a New Year's party in kindergarten:
Bundle of rope
The easiest way is to make a bundle from a tourniquet – this option is often called a bun.
The tail is twisted into a bundle and coiled, secured with hairpins, but there are also a variety of options here:
- You can lay the tourniquet in an even sequential spiral, securing each turn on four sides with studs. This option looks most impressive on long hair, you need to twist the tourniquet tighter.
- Twist the tourniquet loosely and make one turn around the elastic band. Twist the remaining length of hair into a tight bundle and wrap the elastic under the outer loose circle.
- When all the hair is hidden, secure the result with hairpins. The styling looks softer and more feminine than the previous version.
- Twist two bundles from the tail and twist them with a small interval one after another, fixing each turn with a hairpin. The beam looks embossed and seems more voluminous.
- Divide the tail in two, twist the two strands counterclockwise and twist them clockwise around each other.
- Wrap the resulting weave around the base of the tail with a spiral and secure with hairpins.
The hairstyle of a bump of curls with an elastic band looks coquettish and unusual – it suits curly girls, and straight hair can be pre-wound on bobbins.
You also twist the tail into a bundle, wrap it around the base and put on a voluminous elastic band on top – no hairpins are needed.
If the hair is cut in a cascade, small curls will fall out of the bundle, which will give the styling a special charm.
If the curls are pre-treated with an iron with a corrugated nozzle, you will get a very voluminous lush bump from the tourniquet, which is very easily fixed with hairpins.
A plait bun is the simplest and most well-known way to collect and pin up hair, but do not forget to experiment with the options presented above.

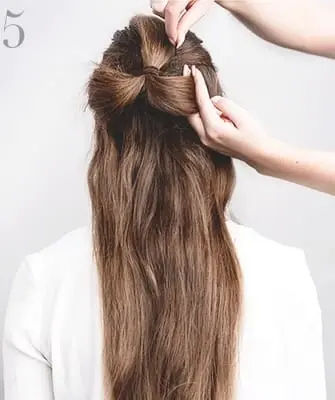
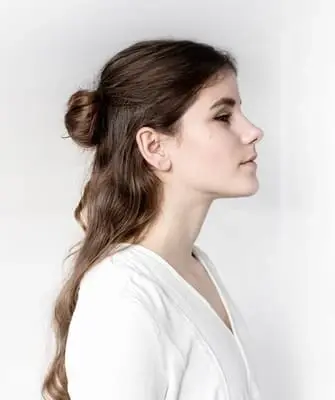
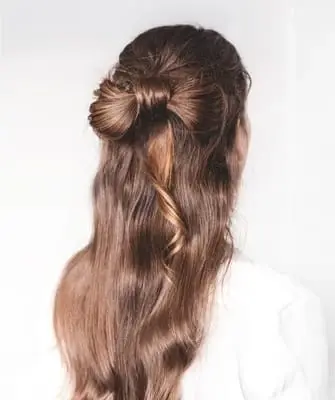
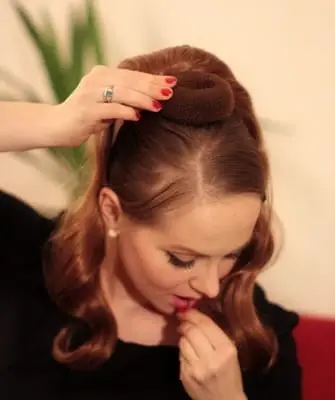
"Bump" with a bow of hair
A high hairstyle with a bow with a bow is suitable for a girl or a young girl, and the bow can be tied from a ribbon or pinned with a hairpin:
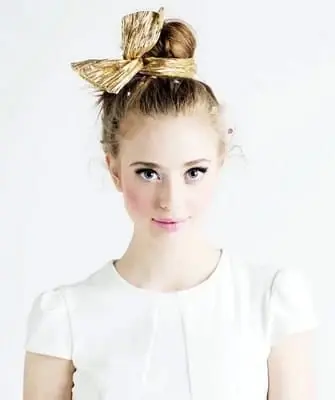
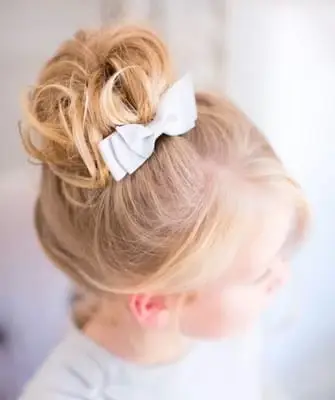
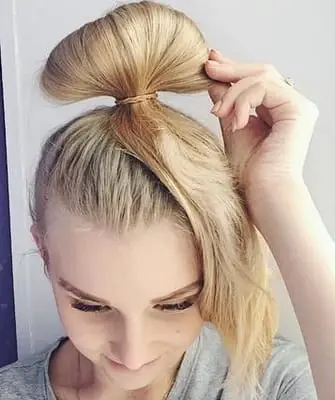
But styling with a bow made of real hair will look as unusual as possible, and making it is not at all difficult.
- Tie your hair into a ponytail.
- Put a foam "donut" on the elastic band.
- Select one strand from the center of the tail, and wrap the foam rubber with the rest and fix it in a convenient way.
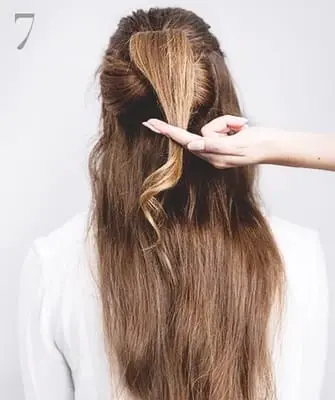
- Collect the central free strand with a thin silicone rubber band.
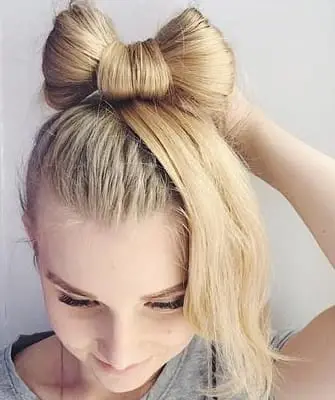
- Make a loop by stretching the hair not to the end.
- Divide the petal of the loop in two, and throw the end between the halves of the bow and hide it inside the bundle, securing it with a small hairpin.
The bow in the center of the cone looks very interesting, cute and unobtrusive.
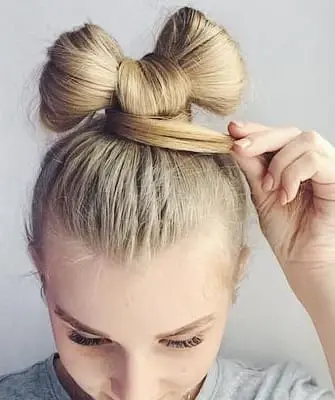
Do not use additional decor – hairpins and ribbons will oversaturate the styling and divert attention from its main detail.
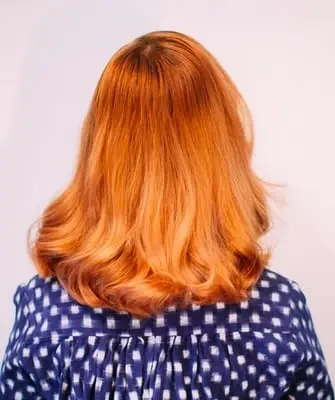
Two "bumps" on the sides for medium hair
To make a bumpy hairstyle on the sides for medium hair or long hair, just use a comb and divide the entire head of hair in two:

Tie a tail on each side, and make bundles from the tails in a convenient way. Do not forget that the hair for the bun will be half as much – styling options designed for thick hair will not work here.
There is a very interesting option for creating two cones, for this a heag hairpin is used. You need to divide the hair not vertically, but horizontally.
- Run your thumbs from the temples to the crown, separating the top part of the hair.
- Take a heagami hair clip and place the top section of hair between its blades.
- Press the hair and distribute it along the entire length of the hairpin.
- Pull the clip to the ends of your hair.
- Roll your hair into a roll, holding the ends with heags.
- Roll the roller into a spiral – heagami keeps its shape perfectly, you do not need to fix such a bundle.
- Roll the lower part of the hair into a roll with another heagami and twist it in a spiral in the opposite direction.
- Connect the ends of the two heags so that the spirals form a solid figure eight.
- Hide the edges of the hairpins with hair by straightening the strands of the roller.
Using heagami or twisters, you can make two bunches one above the other without connecting them together. It is also very easy to make bumps on the sides – the bunches will be neat and strong.
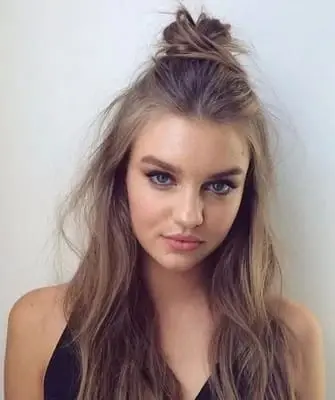
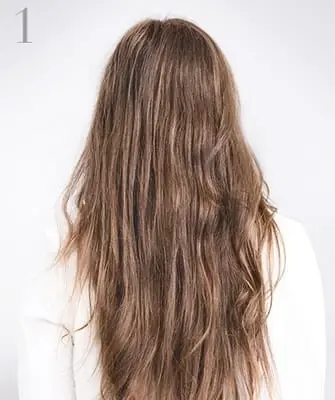
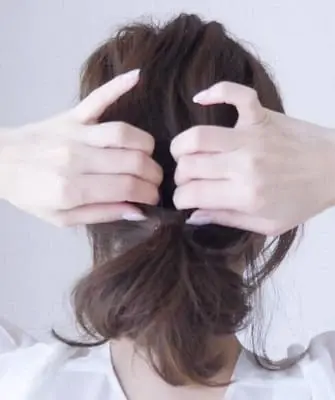
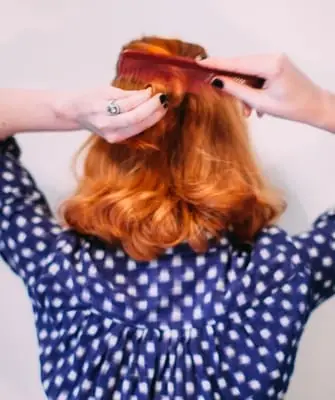
See how to make a hairstyle with two bumps on the head and loose hair, the photo shows the styling process and the final result:
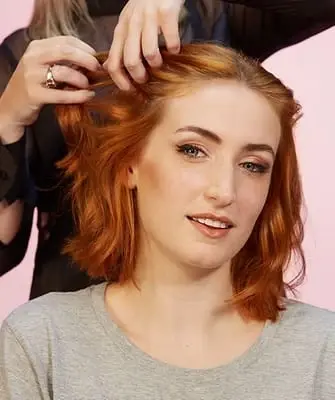
- Separate the top section of your hair by running a comb from ear to ear through the crown of your head.
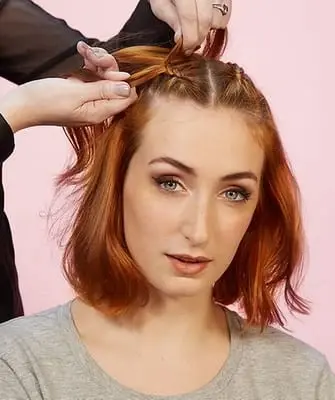
- Divide the top section of your hair in two with a straight parting.
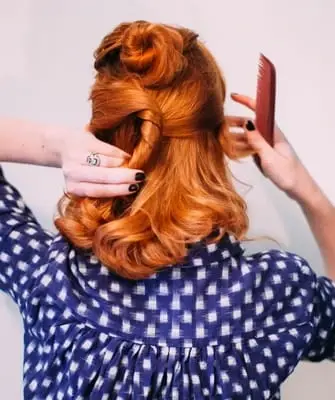
- Make two tails on the crown.
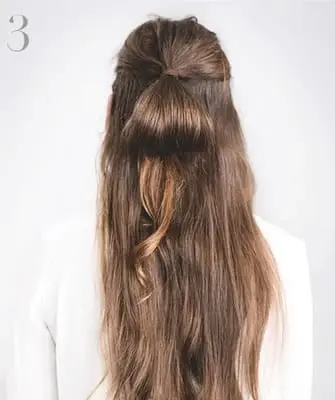
- Roll each ponytail into a loop, pulling the hair out of the elastic not completely.
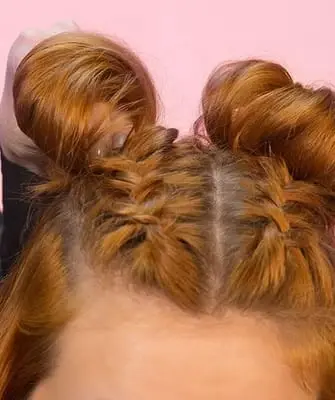
- Wrap the bases of the loops with the ends of the hair and secure with invisibility.
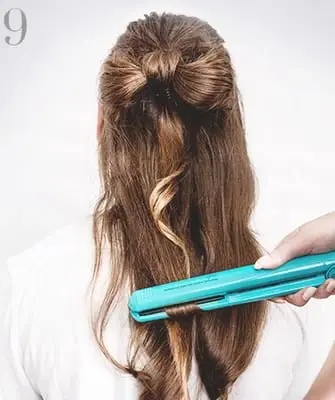
It turns out protruding cones-ears that look coquettish and a little frivolous. The remaining hair can be straightened with an iron or curled with curls.
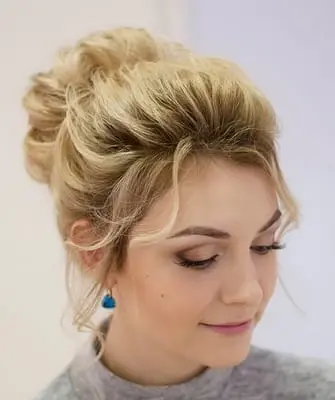
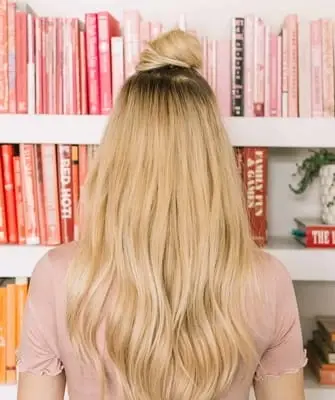
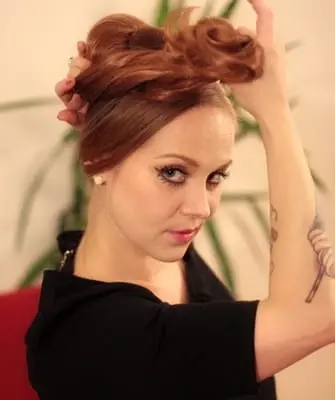
"Bump-malvina" on loose hair with curls
Romantic styling based on seductive waves can be supplemented with a small careless bun.

Hairstyle "Bump-malvina" on the head with loose hair and curls is the choice of sentimental natures, styling goes well with light dresses and sundresses.
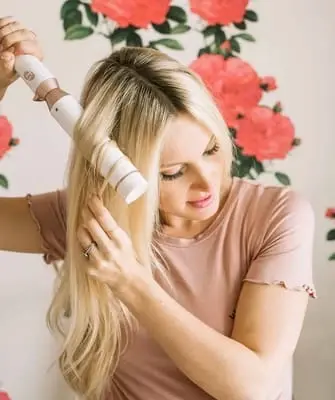
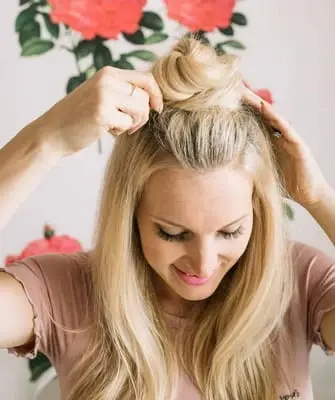
- Apply a medium hold mousse all over your hair.
- Separate the top part of the hair, including the temporal strands, and tie a ponytail at the crown.
- Wind the lower part of the hair on thermal curlers.
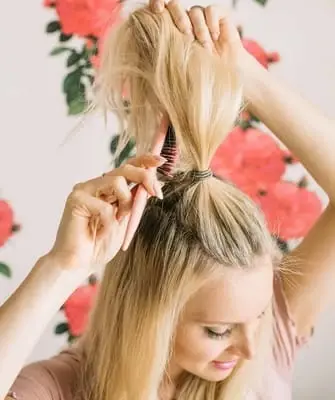
- Divide the tail into several strands.
- Comb each strand along the entire length, smoothing the top with a brush.
- Alternately fold the strands into bundles and wrap a spiral around the base of the tail.
- The more strands and hairstyles will be knocked out, the better.
- You can specially get a few strands, and then curl them.
- Remove the curlers and divide the curls into smaller strands.
- Fix the entire hair with varnish.
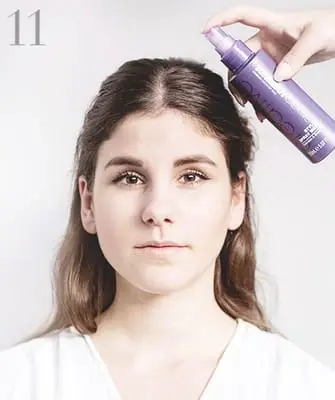
Do not forget to beautifully style the bangs or leave a couple of strands near the face and curl them. You can insert a flower behind your ear or add a small hairpin to the bunch.
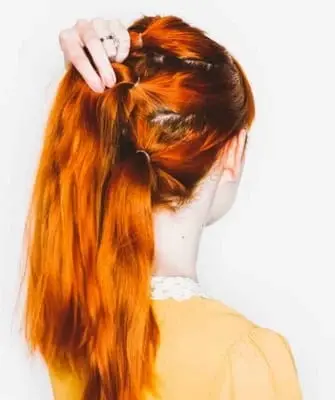
How to braid "Bump" with a pigtail
The traditional version of the braided cone is a bundle of braids, this styling is suitable for owners of long hair.

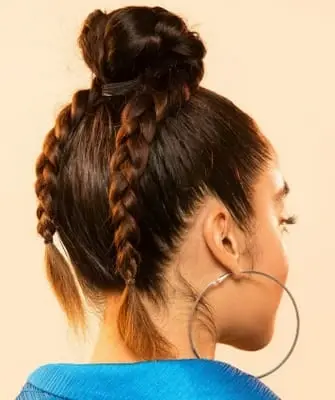
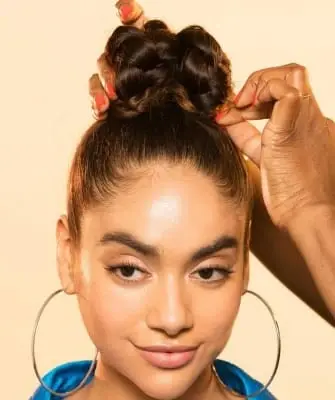
A bun hairstyle with a pigtail will be strong even if you fix it with just two hairpins.
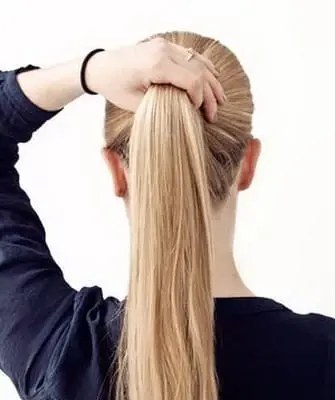
- Tie a ponytail at the top or just below. Try to comb your hair smoothly to emphasize the weave.
- Separate one strand from the tail and wrap it around the elastic to hide the last one. Pass the end of the strand under the elastic.
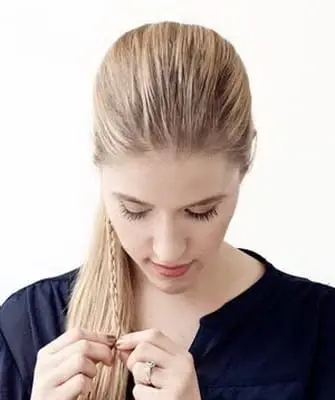
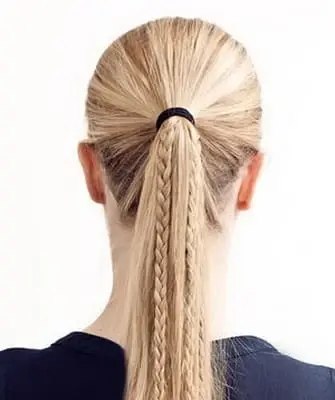
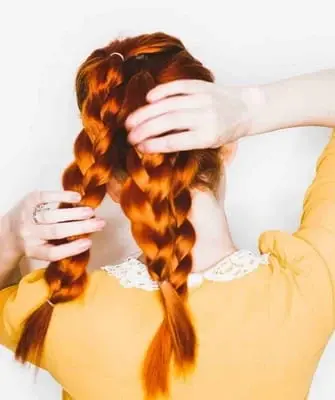
- Divide the tail into three parts and braid an ordinary spikelet. Lay the side strands alternately on the middle one.
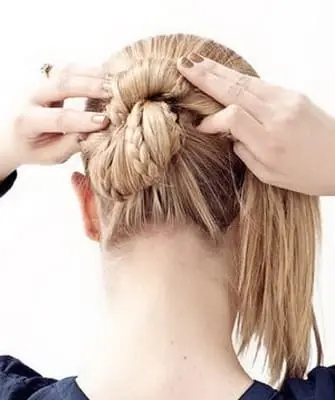
- Wrap the braid in a spiral, and hide the end under the bun. Selectively secure the cone structure with studs in several places.
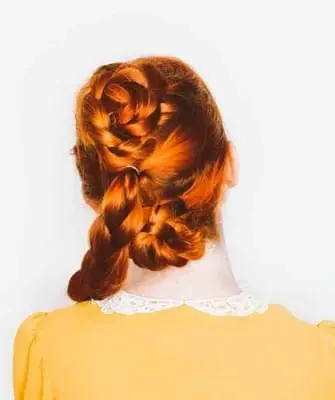

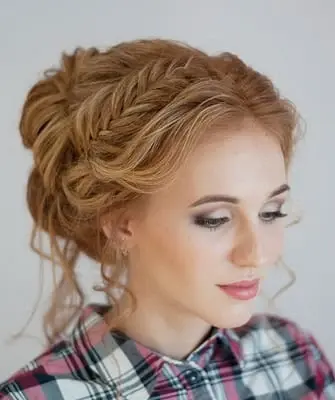
A bump from a voluminous braid just looks gorgeous – it looks like a flower, and making it is not so difficult.
- Tie a tight ponytail at the crown and wrap the elastic with a thin strand.
- Braid the reverse spikelet, that is, put the side strands not on top of the middle one, but under it.
- Secure the edge of the weave with a thin elastic band.
- Pull out the loops of the braid so that it becomes voluminous.
- Lay the braid in a spiral, trying to put the weave on the edge.
- Hide the end of the weave under the bump and pin it with a hairpin.
- Spread the petals of the resulting flower so that the design is harmonious and uniform.
In the center of an impromptu rosette, you can place a tiny flower on a “crab” or a short hairpin with a decorative tip.
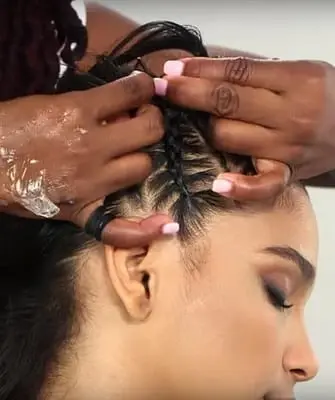
Another option for a cone with weaving is weaving under the beam.
- Bend over, throw your head forward and throw all your hair over your face.
- Starting from the back of the head, weave a spikelet braid, gradually picking up loose strands.
- When you reach the top of your head, gather all your hair into a ponytail.
- Roll up the tourniquet and wrap it in a spiral around the elastic band.
- Secure the structure with studs.
The main thing is to make the tail high enough so that the finished bump does not overlap most of the weaving.
Similar weaving can be done all over the head, the braids will start from the hairline and converge at one point – under the bun.
It is better not to make the bundle itself on the basis of a braid, so that the styling is not oversaturated.
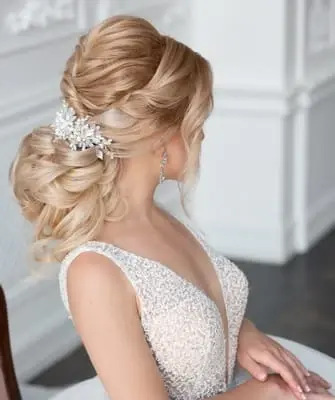
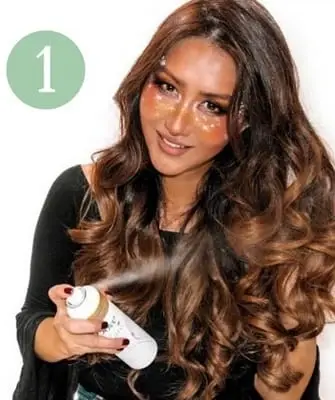
Romantic styling with curls
This styling looks as festive and elegant as possible, suitable for a matinee or evening outing.
- Curl your hair with foam curlers.
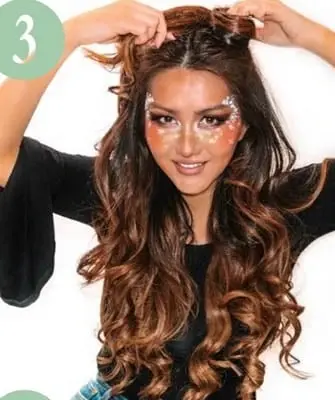
- Gather your hair into a ponytail below the crown.
- Separate a strand of hair and wrap it around the elastic.
- Separate another strand, comb it gently with a comb and form a loop.
- Secure the loop with a hairpin or stealth.
- If the length of the hair allows, form another loop from the same strand and fasten in the same way.
- Also make loops from all the strands.
- If there are protruding tips left, curl them with a curling iron, imitating the stamens of a flower.
Romantic styling with curls goes well with straight, even bangs. If you wear oblique elongated bangs, curl its end with a curling iron, holding the tool vertically. If you do not wear bangs, leave two strands at the temple and curl them with a curling iron, let them frame your face beautifully.
Variants of "Cones" for short hair
On short hair, a bump is the most difficult to make, because it should be a three-dimensional design:
Let's look at several options for solving the problem:
If the length is at least a little present, try using a "donut" for hair.
You can fix the hair straightened over the foam rubber with an ordinary elastic band without the help of hairpins.
Try a small twister – you can also use it to create a neat bump, you don't even need to pre-tie your hair into a ponytail.
If the length is barely enough to collect the ponytail, use a chignon. Ready-made cones are sold, which are attached to the tail or to the roots of the hair with special clips. It is important to choose the shade of hair exactly the same, otherwise the result will look comical.
You can make a bump by simply combing the strands. A few thin strands can be left smooth and highlighted with wax.
If you wind your hair into small bobbins and collect it in a tight tail at the back of your head, the curls will form an interesting bun.
You can pin the top strands with invisible ones over the elastic band so that the design becomes voluminous and harmonious.
Even short hair can be arranged in a bun, and for long luxurious hair, the number of variations is limitless. If you like all sorts of bumps, get some tools with which you can create interesting buns of various shapes.