Scrapbooking boxes for jewelry and flash drives: a master class with a photo
You may find the following ideas for such adorable jewelry boxes useful.
Scrapbooking jewelry boxes: a master class
The scrapbooking box master class gives every woman or even a child the opportunity to make something useful for the home with their own hands.
Necessary materials:
- thick paper, you can cardboard;
- paper for a mini-album;
- medium-sized beads – 4 pieces;
- decorative buttons for attaching a handle – 2 pcs.;
- lace 2 cm wide, at least 70 cm long;
- satin ribbon – 1.5 cm wide;
- decorative elements for decorating the box – paper or textile butterflies, flowers, hearts;
- glue;
- scissors;
- ruler.
The scrapbooking box is made as follows:
On the front side of thick paper or cardboard, use a ruler and pencil to draw a rectangle 30 cm wide and 14 cm high. Then divide this rectangle horizontally into three parts – 4 cm, 6 cm and 4 cm, drawing lines.
Make lines and vertically 10 cm, 4, 10, 4 and 2 cm. Next, in the last cell, make cuts at the top and bottom, cutting out 4 cm rectangles.
In the third 10×6 cm cell, draw and cut out a square 6 cm high and 5 cm wide. Make slits at the top of each side. Fold the square along the lines that formed on the paper. In the cells adjacent to the square, make small holes along the edges in the middle – in this place the handles of the future box will be located.
Fold the craft along the bends to make a square box. Attach 4 beads to its bottom along the edges, they will act as legs.
Cut a strip of paper the same width as the ribbon. Round the edges of the strip slightly. Its length should be approximately 20-25 cm. Using glue, glue the handle to the surface of the craft in the place that was marked with small holes in the form of holes.
Using glue, glue a beautiful lace frill around the perimeter of the top of the box. This is followed by a workshop on making a scrapbooking jewelry box for making a mini-album, which will serve as a lid for this craft: Cut out four rectangles measuring 14 × 7 cm from paper, fold two of them so that you get 2 squares 7 × 7 cm .
Circle the edges of all the rectangles with ink and glue them so that you get an album. On the last page of the album, cut out a square of the same size as the window in the box. Attach the mini-album to the top of the box, covering the window with it, this will be the lid of the box.
The box is ready, attach the handle to it in place of the holes with the help of buttons, glue the decorative elements, and place all your jewelry in it.
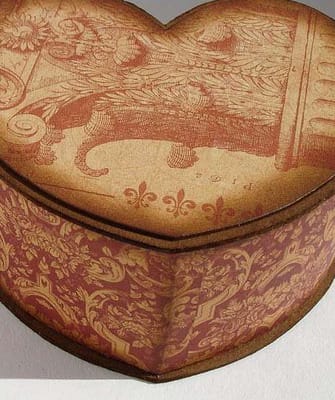
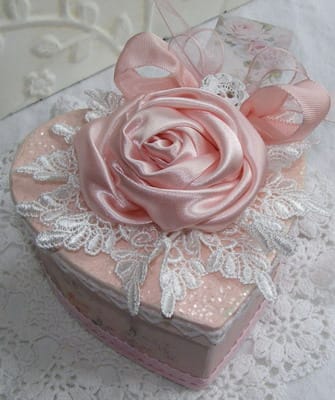
Heart shaped scrapbooking box
Such a scrapbooking-style box designed for storing jewelry also looks beautiful.
Necessary materials:
- cardboard box;
- scrapbooking paper set;
- decorative elements;
- cardboard;
- paper flowers;
- figured hole punch;
- stamp pads;
- glue;
- knife;
- pompoms;
- silk to decorate the box.
Make a scrapbooking jewelry box in the following way:
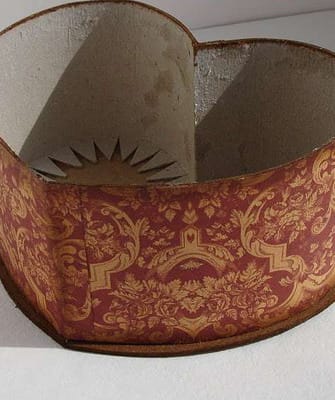
Take apart the cardboard box. For the manufacture of the box, only the side parts of the box will be used, which will need to be covered with silk.
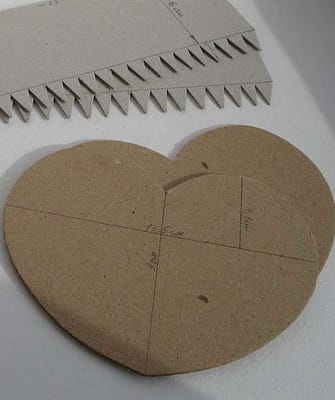
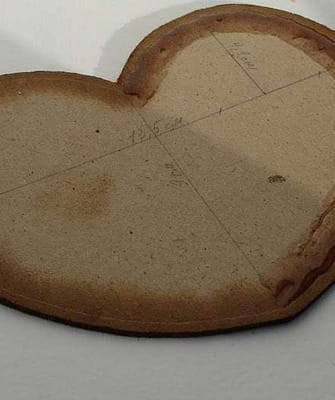
Place the side of the box on thick cardboard, and circle it along the contour, then cut it out. This will be the bottom of the box. Repeat exactly the same steps for the product cover.
Attach the heart-shaped part to the scrap paper, circle it, cut it out and glue it to the cardboard base. Attach the finished bottom of the future box to the side parts of the craft with super glue, while the parts of the fabric with which this part was covered must be tucked inside.
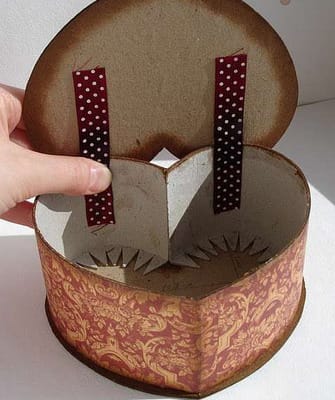
In exactly the same way, it is necessary to make a cover for the "heart" in which the jewelry will be stored.
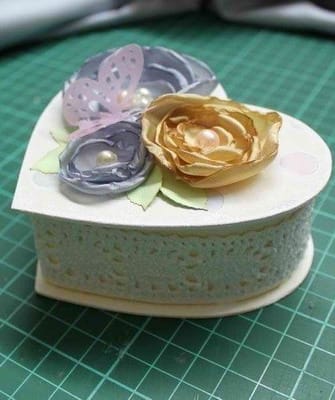
Decorate the top of the lid with scrap paper already attached to it with decorative elements. Lay paper flowers beautifully using a hole punch, make leaves, and glue them next to the flower arrangement.
Such a spring scrapbooking box in the photo below:
If you are making it as a gift to a loved one, you can place warm wishes.
How to make a box for a flash drive using the scrapbooking technique
You can make a box for a flash drive using the scrapbooking technique, because it tends to get lost often.
To begin, cut cardboard blanks of the following sizes:
- 7×5 cm – 1 piece;
- 7 × 2 cm – 2 pcs.;
- 4, 6×2 cm – 2 pcs.
Bend the bottom and side edges that will fasten the box by 0.2 cm. Glue the long side parts to the base of the future box, then the short ones.
Glue needs to be applied quite a bit so that it dries quickly. Cut a rectangle out of multi-colored paper and wrap the box.
Now you need to make a lid. Attach the finished base of the box to the cardboard and circle it, then move it 2 cm to the side and circle it again, you should get a rectangle.
Glue the box on one side, and cover it with cardboard on top, you should get a small book. Using glue, attach thin ribbons to the side of the box and lid, these will be the strings of the box. Decorate the case for the flash drive at your discretion.

