DIY Christmas trees made of paper and other improvised materials: original ideas with photos and videos
The Christmas tree is the most important attribute of everyone's favorite holiday. It is difficult to argue with the fact that the smell of pine needles in winter is always associated with the New Year. But, it happens that for some reason it is not possible to put a forest beauty with a house. However, you can please yourself and your family in another way – to make a Christmas tree out of paper or other improvised materials with your own hands. And in order for the specific aroma of needles to soar in the house, it is enough to purchase special flavors or essential oils, or simply bring coniferous branches into the room.
A product made from improvised materials can be used in different ways, for example, put in the room of the apartment where the family most often gathers and where the celebration will take place. In addition, a homemade Christmas tree will serve as a wonderful gift for both adults and children.
Today, there are a lot of ideas on how to make an original Christmas tree with your own hands, and even the smallest members of the family can participate in its manufacture.
How to make a Christmas tree out of paper with your own hands (with photo and video)
The most diverse, even unthinkable Christmas trees are made of paper with their own hands.
We offer several options for making such crafts:
You will need: thick colored paper, cardboard, scissors, glue, tinsel, sparkles.
1 option.
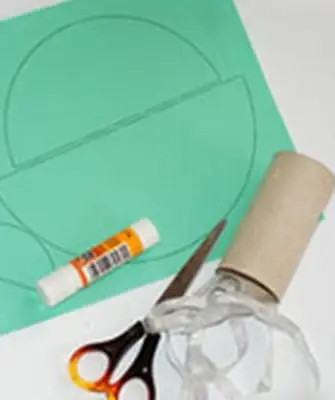
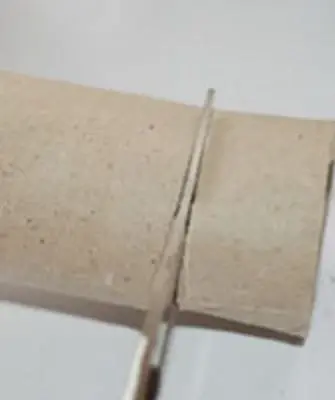
From cardboard we build a small tube 5-6 cm long, this will be the basis of the craft.
From colored paper we make several cones of different sizes.
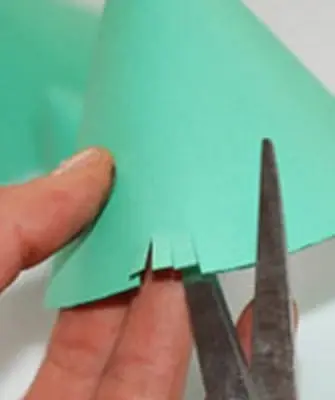
Ready-made cones must be inserted into each other, starting with the smallest.
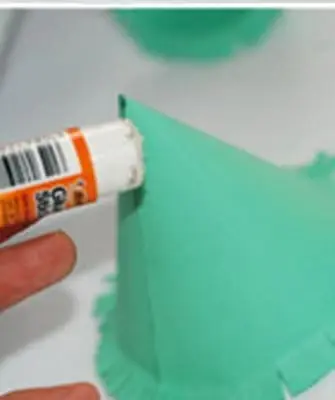
Cut the bottom of each cone with scissors to make a “fringe" and make the Christmas tree fluffy.
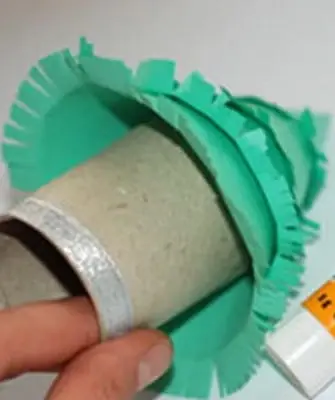
The last large cone should be fixed to the base with glue. Now the product can be decorated with sparkles and chopped tinsel, lightly smearing the cones with glue.
Option 2.
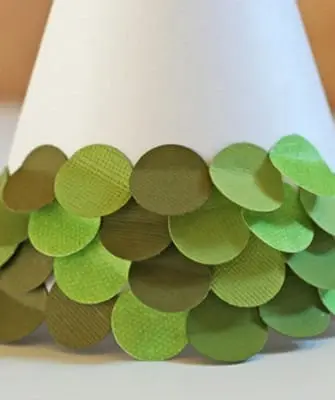
As a basis, a cardboard cone will serve, the size of which is chosen at your discretion. Instead of needles, circles of the same size will be glued. Circles can be two shades of green. So, one row will consist of dark green circles, and the next row will consist of light green circles, and so on. Mugs should fit snugly against each other, so the tree will turn out more magnificent and more beautiful. The decoration is the same as for option 1.
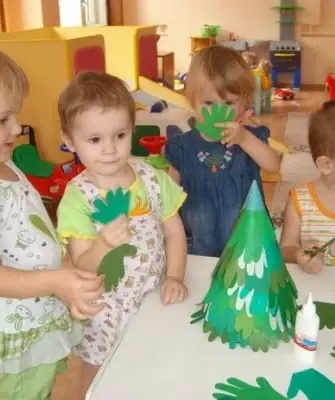
3 option.
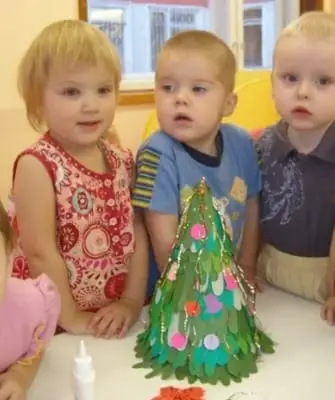
The next Christmas tree is made by children with pleasure, as it is obtained from the palms, and the process of making it is quite simple and funny.
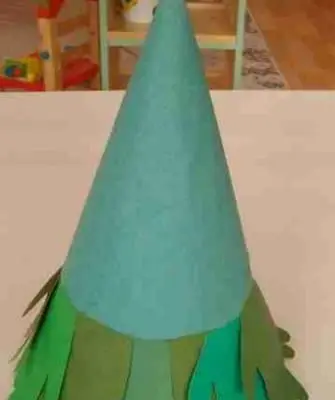
To create an application, green sheets are needed, the shades may be different.
To make the product spectacular, it is recommended to use at least three shades of green.
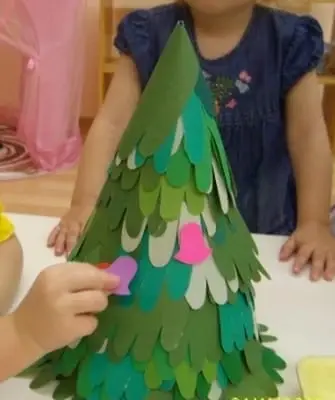
A palm (of an adult or a child) is outlined on each sheet. The length and splendor of the Christmas tree will depend on the number of paper palms cut out.
The cut out palms are attached to each other with glue, and at the bottom there should be a lot of them, and at the very top – 1 – 2 pieces.
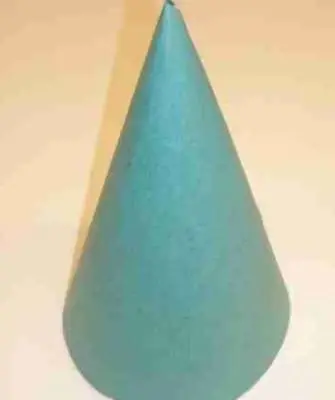
Option 4.
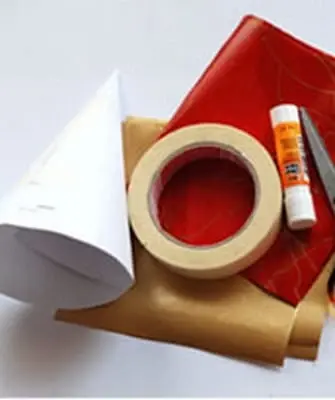
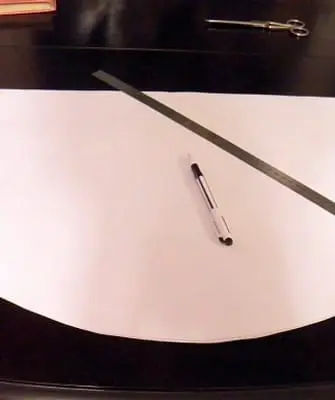
For the base, you need to make a cone out of cardboard. After that, you can start cutting strips of colored double-sided paper of the same width.
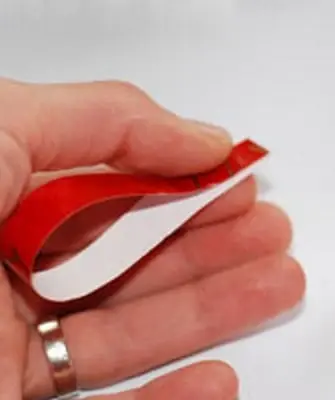
You can use two different shades, which will look more impressive.
A do-it-yourself paper Christmas tree does not have to be green, it is not forbidden to use other colors: red, yellow, orange, silver, etc. The main thing is to alternate the two selected colors.
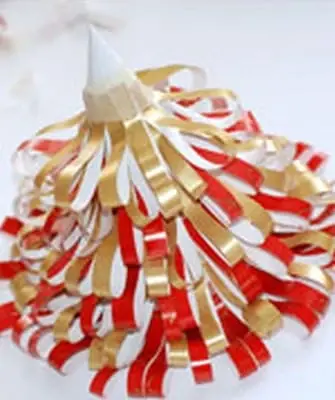
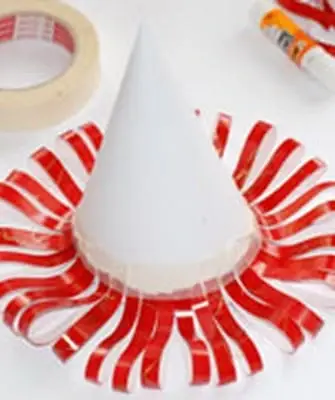
Each cut-out strip must be glued at both ends, so that a drop looks outwardly.
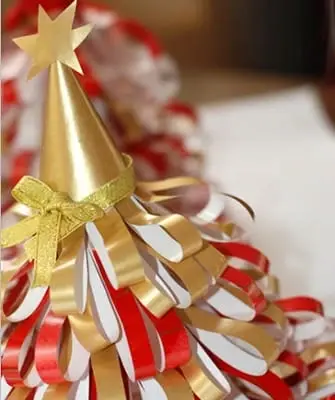
Then the “drops” need to be glued onto the cone in rows, and the lower ones should be longer than those that will be located above, and so on. Above – the shortest stripes.
Option 5.
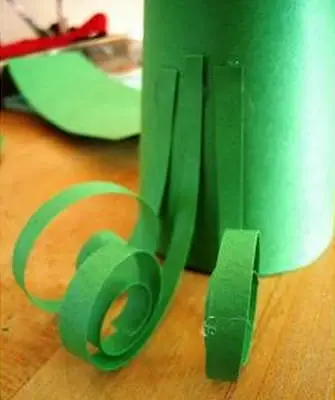
Twisted thin strips of colored paper are glued onto the cone. Curls can be obtained by winding the strips on a pencil.
If you want even more interesting options on how to make a Christmas tree with your own hands, then the following video will come in handy:
How to make a Christmas tree from candy, tinsel, cones and thread
Creative people who love to create beautiful, unusual products from almost nothing, or rather, from what is at hand, will probably wish to make a Christmas tree with their own hands from improvised materials. Often they turn out real masterpieces. Try yourself in the role of creators.
Tinsel and candy. A tinsel tree looks very elegant. Tinsel will be wound onto the cardboard cone, starting from the bottom.
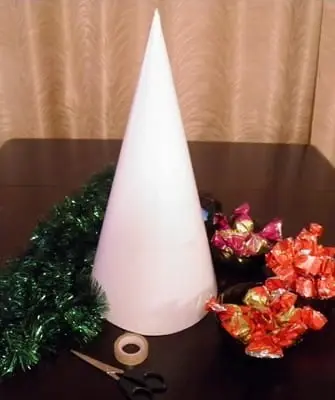
A heat gun will help fix it. The tinsel should fit as tightly as possible to the cone so that there are no gaps. The craft is decorated with balls and other toys.
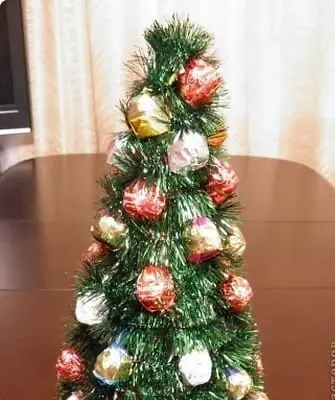
Not only interesting, but also attractive is the Christmas tree made of sweets with your own hands.
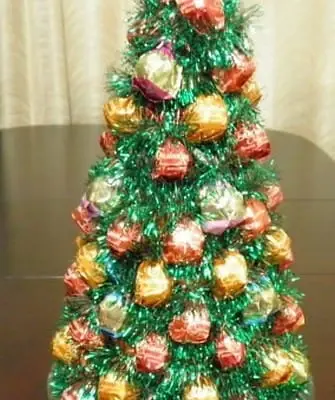
A cone wrapped in tinsel is thickly decorated with round sweets in a golden wrapper. And you can make one row of tinsel, one row of sweets, which will certainly delight children.
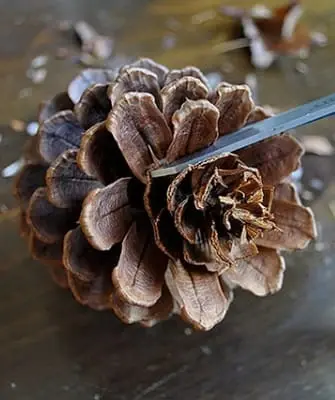
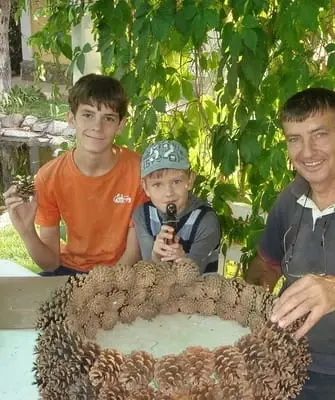
Cones. To make a forest beauty, you will need ordinary spruce or pine cones. The base cone is made of thick cardboard.
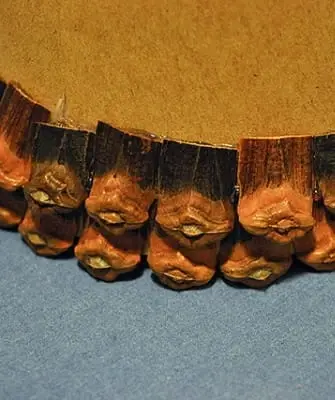
Cones will be glued to it. To do this, it is better to use a heat gun or universal glue.
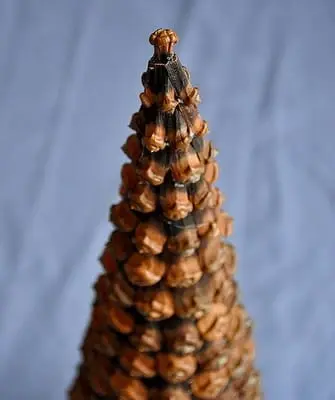
After gluing the edges of the cones, you need to decorate with paint containing sparkles. The gaps between the cones are filled with needles or tinsel.
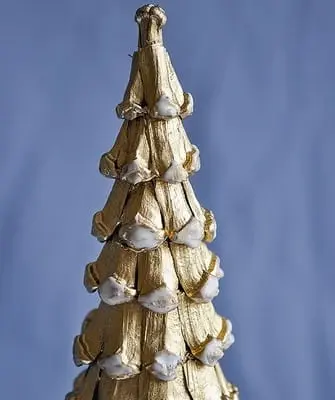
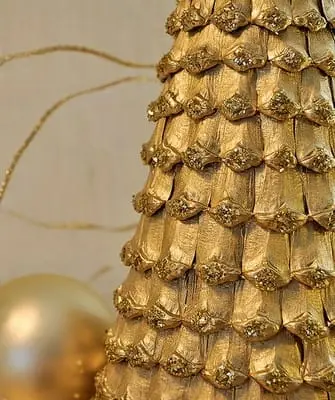
You can decorate such a Christmas tree with beads, ribbon bows , “rain”. Salt, cotton wool or crushed polystyrene will help to simulate snow on the branches.
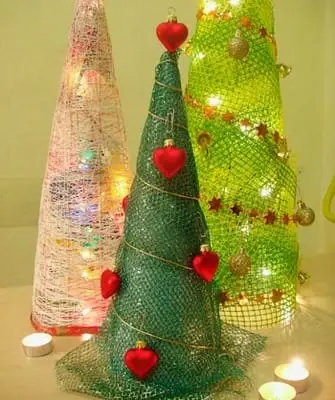
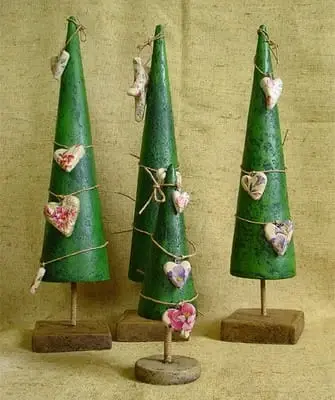
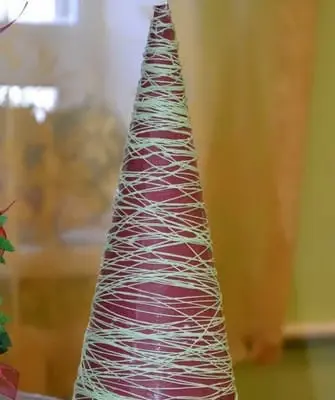
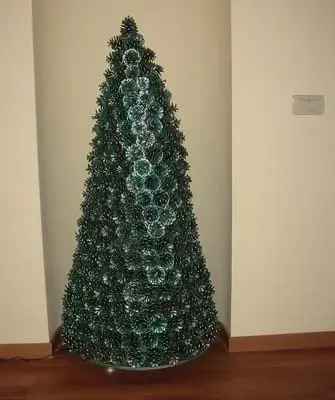
Threads. How to make a Christmas tree with your own hands from threads is an interesting question, because such a craft is original and spectacular, and therefore can be an excellent present for the holiday, or an exquisite decor element.
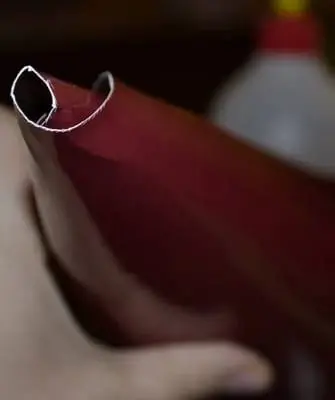
For its manufacture, dense threads are required, for example, wool or floss. Shades can be different, but the presence of green is desirable. Be sure to make a cone out of cardboard, its size will depend on how big it is planned to make a Christmas tree.
Lubricate the base cone with a thin layer of PVA glue. Starting from the bottom, wind coarse thick threads of the selected color around the cone. The threads should fit snugly one to the other, but should not intersect, lie on top of each other.

In other words, the surface of the Christmas tree should be made perfectly flat and smooth. The end of the thread, which will be at the very top of the tree, form into a loop, or hide under the thread.
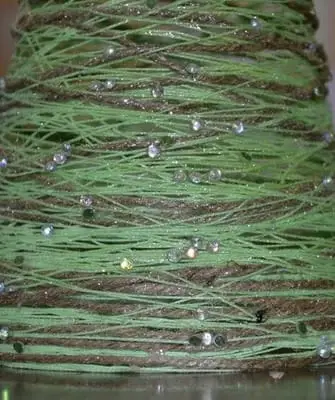
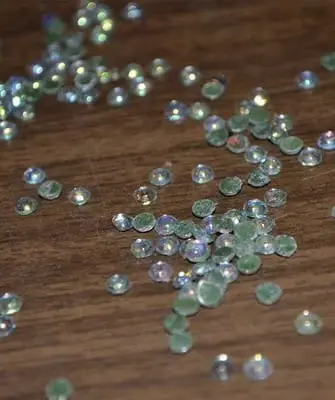
The loop will allow you to use the craft as a decoration. You can decorate the product with cotton balls, figures cut out of felt, etc.
How to make a big Christmas tree with your own hands from improvised material
In a house where there are very young children, parents are thinking about how to make a big Christmas tree with their own hands. After all, it is still dangerous to put a real tree, there is a risk for kids to get hurt on needles. Yes, and toys in this case will be regularly removed (and they are made of fragile glass!), Which can lead to unpleasant consequences.
A large do-it-yourself Christmas tree is easily made from improvised material, it is enough to make a long wide cone and decorate it as suggested in one of the options above.
When there are kids in the house, it is better to use a dense fabric, such as felt, to decorate the cone. A thermal gun is suitable for its fastening. Now, on a soft, fluffy Christmas tree, you need to hang toys, also sewn from fabric. You can attach them using loops on buttons sewn to the base.
There are an incredible amount of ideas for large DIY Christmas trees. They are made from multi-colored balls of the same size, fixing them on a long cone, or from cardboard egg cells, painted green and set one on top of the other in the form of a Christmas tree. It is enough to show imagination and imagination.
If you are still in doubt about the choice of how to make a Christmas tree with your own hands, look at the photos below, and perhaps you will find the most suitable option: