Scrapbooking folder for documents: photo, master class on making folders using the scrapbooking technique
Creating a folder for scrapbooking documents is an interesting, exciting and rewarding process. In such a hand-made product, you can store many important documents, both for adults and children.
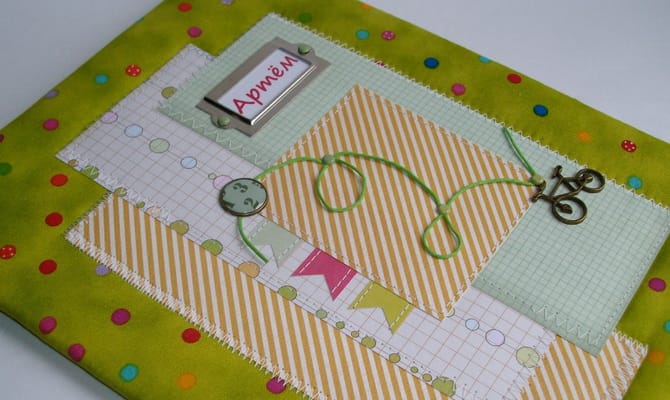
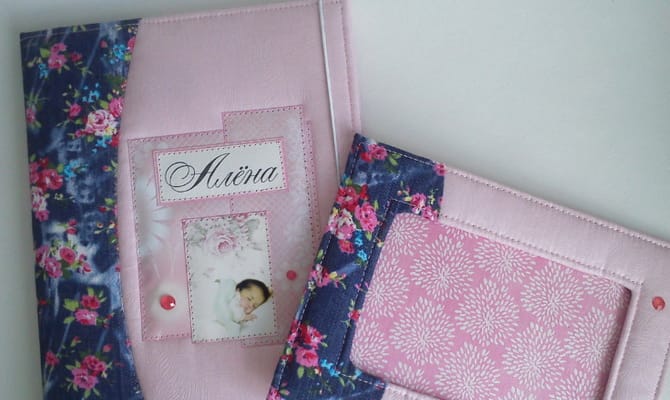
Scrapbooking folder with an elastic band for the first children’s documents
A scrapbooking baby paper folder can be used to store a birth certificate. Such a product can be designed for both girls and boys, using materials in a certain color scheme.
For self-production of beautiful crafts designed to store a children’s birth certificate, you will need the following materials:
- cardboard;
- white cotton fabric, at least 40 by 27 cm in size;
- dye;
- strong threads;
- watercolor paper;
- scrap paper;
- synthetic winterizer;
- multifor;
- thin elastic band;
- brads;
- folder decorations.
Creasing board, sewing machine, syringe, awl, scissors are the necessary tools.
If this is your first time doing this type of creativity, a master class on scrapbooking a child’s document folder will help you:
Take a white cotton cloth, soak it in water, wring it out well and spread it out on a flat surface.
Now you need to properly fold the fabric for painting. First, fold it in half, then mentally divide this segment into three identical parts – wrap one third up, tuck the second under the bottom.
It is important to know: the fabric may shrink during dyeing, so it is advisable to take a segment a little more.
Start pulling the resulting strip with a thread through the same distance. Then fold this fabric in a spiral and also fix it with a thread.
The fabric must be tightened as tight as possible, the result of staining depends on it. It is important that the paint does not get into the folds, otherwise you will not get a beautiful drawing.
Put the fabric in the sink and start dyeing the fabric. To do this, draw the paint into the syringe and squeeze its contents onto the fabric.
Turn the workpiece over to the other side and do the same.
You can use either one color of paint or several at once, you get a very interesting drawing with multi-colored stains.
Wait for the excess liquid to drain and cut the thread that was pulled over the fabric.
Lay it out on a flat surface and let dry. After drying, it must be ironed well.
Now you can start creating the folder: From heavy cardboard, cut out two rectangles measuring 22 by 15.5 cm and one rectangle from watercolor paper measuring 22 by 7.5 cm.
In the center of the folder, you need to attach with glue a strip-spine made of cardboard of such a width of 1.2-1.5 cm. Glue the cardboard bases to the spine, fasten the padding polyester on top.
From the dyed and well-ironed fabric, cut out a rectangle that matches the dimensions of the folder, leaving a margin of 1.5 cm on each side.
Cover the cardboard with a cloth, pulling it well so that wrinkles do not form, fix it with glue.
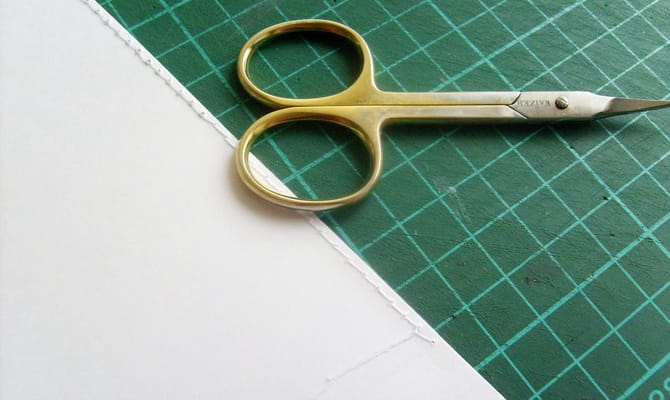
Sew the product carefully along the edges, decorate with decorative elements to your taste.
On the back of the craft, fasten the elastic using brads, make a hole with an awl.
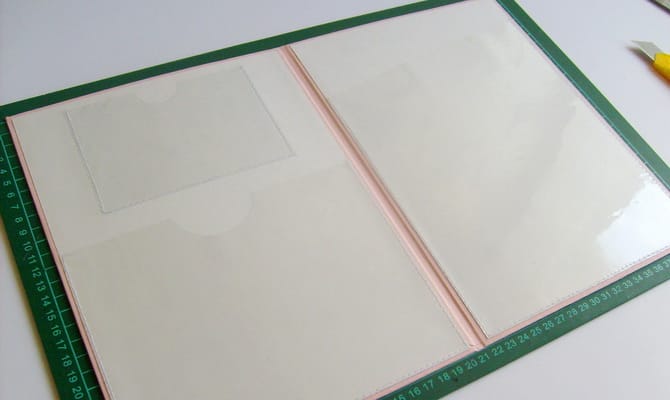
Now you can proceed to the interior design of the craft. To do this, take a sheet of scrap paper, two rectangles 21.5 cm wide, fold in half to make two identical elements. Glue them to the outside of the folder.
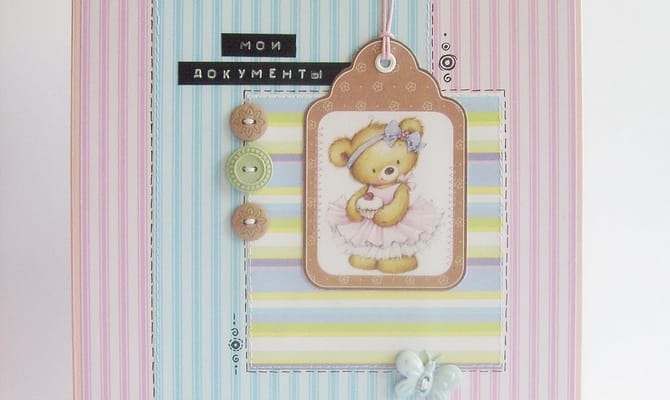
Above, do not forget to make an inscription consisting of the name and surname of the owner of the folder for the first scrapbooking documents.
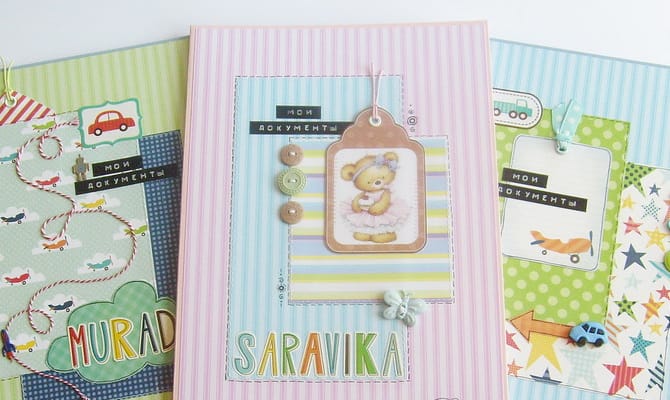
Such a folder for scrapbooking documents on an elastic band is presented in two options – for a boy and a girl, in the photo below:
Wedding scrapbooking folder for documents: a step-by-step master class
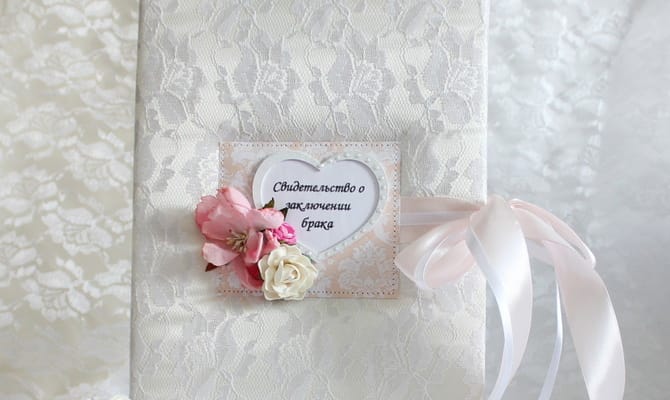
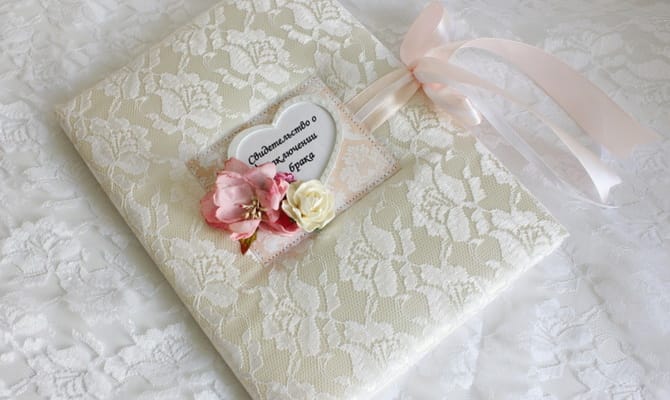
In a folder made using the scrapbooking technique, you can store not only a birth certificate, but also a marriage certificate.
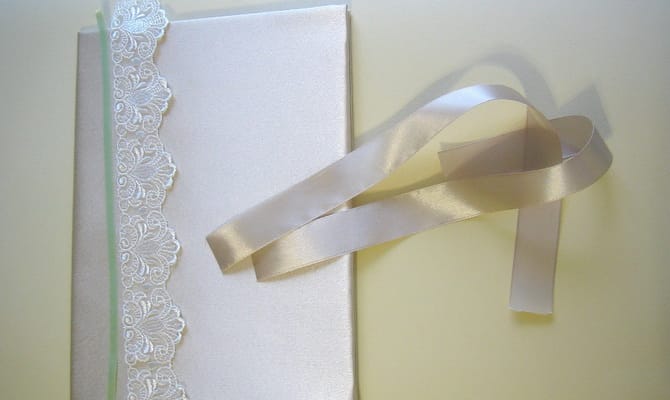
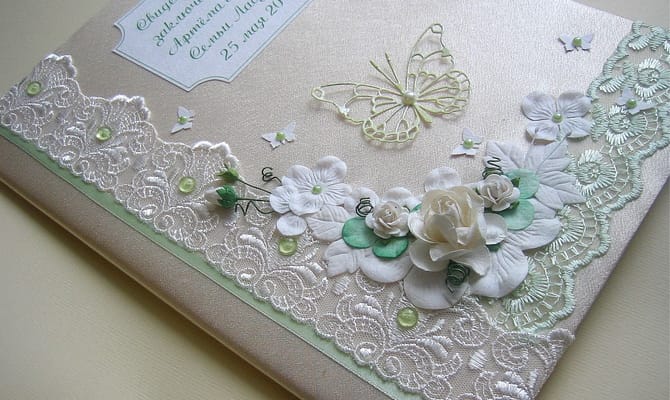
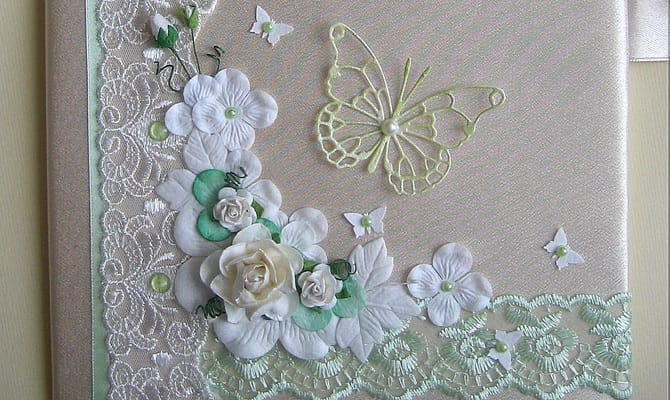
Beautiful wedding folder for scrapbooking documents in the photo below:
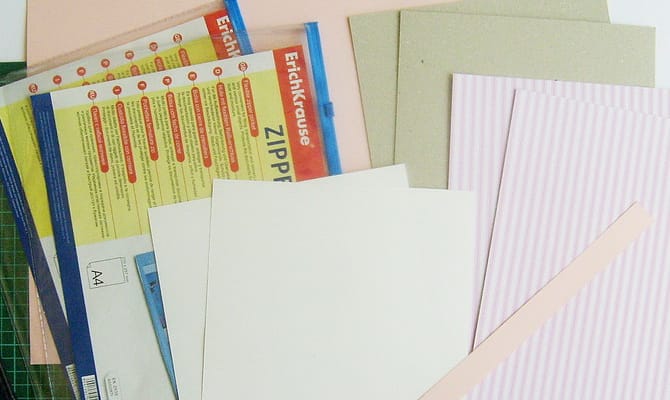
For its manufacture you will need the following materials:
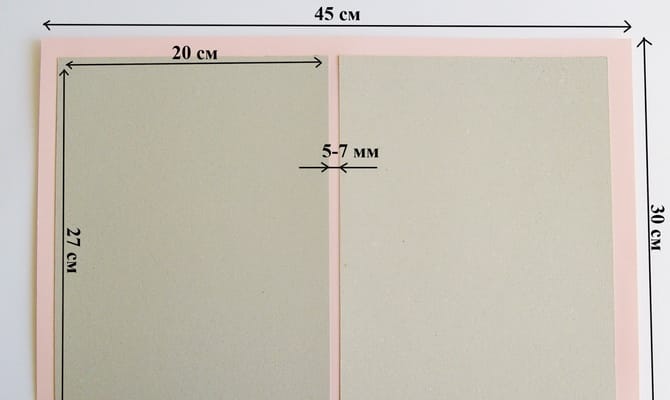
- two sheets of beer cardboard 1.5 mm thick and 20 by 27 cm in size;
- stationery clips;
- sewing machine;
- pencil;
- cotton fabric of any color;
- glue stick;
- stationery knife;
- ruler;
- synthetic winterizer;
- additional decorative elements.
Beginning needlewomen will come to the aid of such a step-by-step master class of a folder for scrapbooking documents:
From the synthetic winterizer, cut two pieces measuring 20 by 27 cm.
Glue it to cardboard using glue stick.
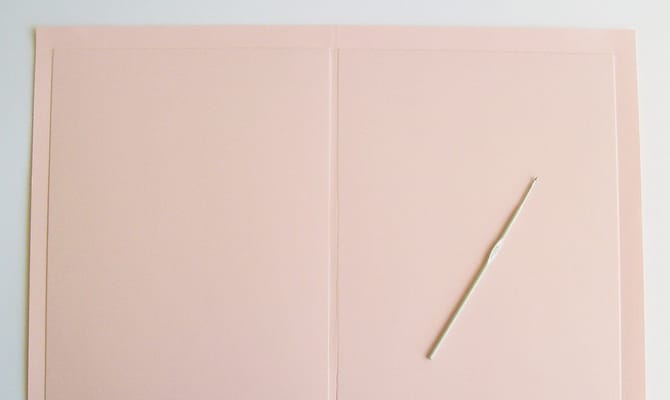
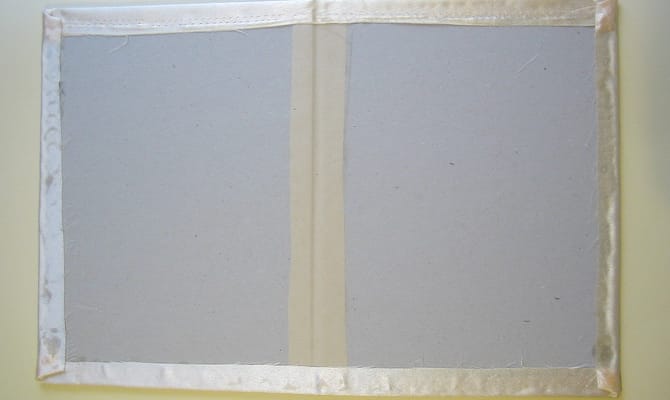
On the inside of the cardboard, glue a strip of thick paper strictly in the center – its height should correspond to the height of the cardboard, and its width should be approximately 4 cm.
Run your hands over the top several times so that the strip sticks well, then carefully fold the cardboard in half.
Steam the cotton fabric well from the wrong side.
Lay it face down, on top – cardboard padding down.
Start gluing the fabric to the padding polyester, pulling it well so that there are no wrinkles.
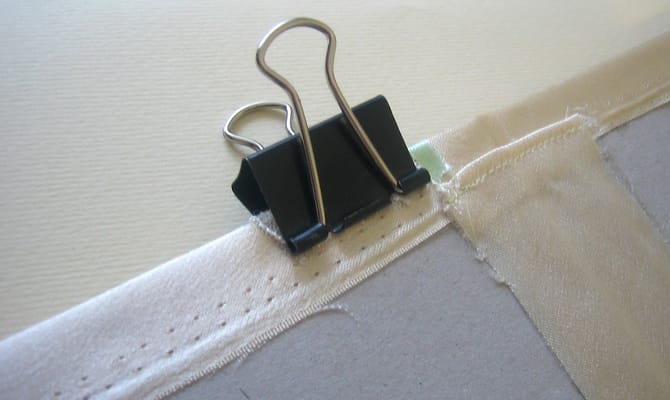
At this stage, the corners of the craft do not need to be touched.
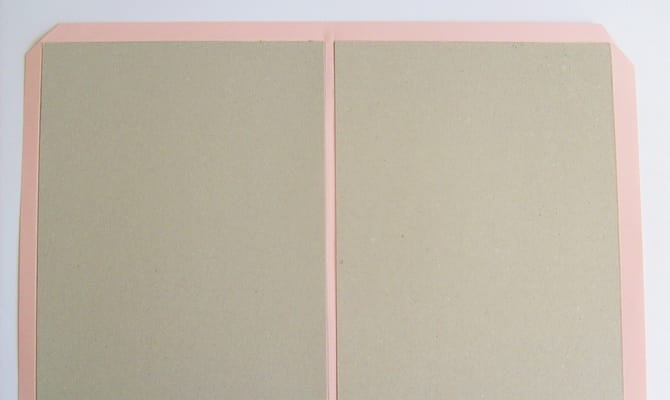
On each corner of the fabric on one side, make cuts at an angle of 45 degrees, not reaching 3-4 mm from the edge.
Cut the second part of the corner at a 90 degree angle, and glue the fabric on the inside of the folder.
Such actions should be performed with each corner.
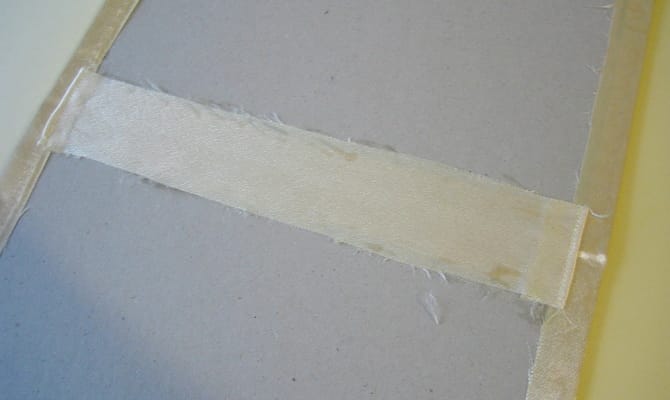
Cut a piece of fabric measuring 3 by 30 cm. Bend its edges so that in the end the length is 26.5 cm.
Apply glue to the wrong side of the fabric and glue it in the center of the folder.
Open and close the folder several times in a row to form a fold.
Now you can move on to the most pleasant stage – the design of the product.
All sorts of ideas can be used here.
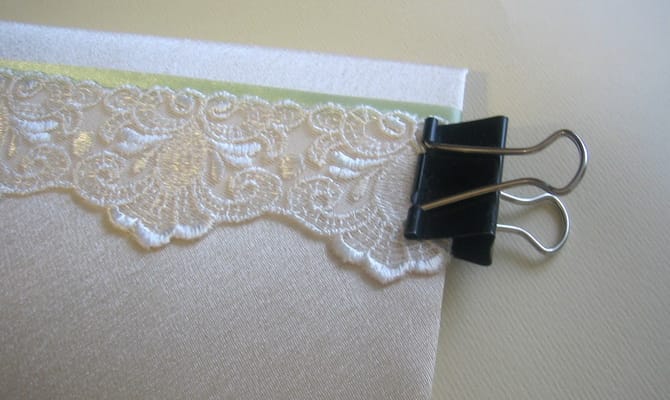
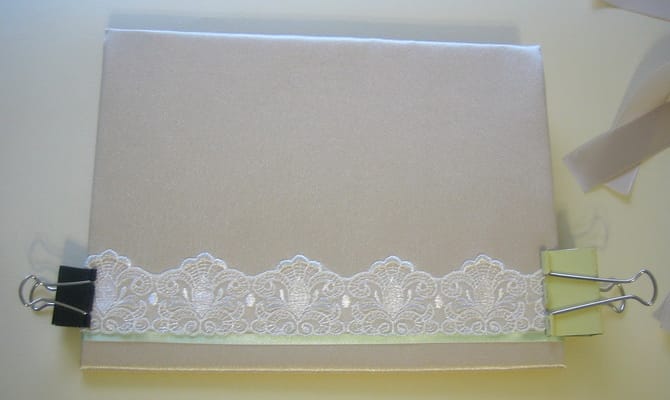
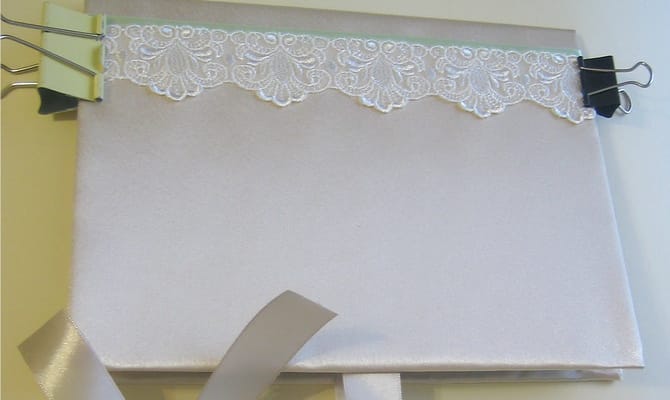
From above, you can stick beautiful pictures on a wedding theme, tulle flowers and lace elements.

